In previous chapter, we have explained what each configuration offers in SCORER Camera Control(SCC) and demonstrated how each radio button affects output of the web camera image.
In this last chapter, we will explain how to register your Raspberry Pi to the SCORER Management Console(SMC) and demonstrate downloading logs/movies/snapshots from the SMC.
1.What is SCORER Management Console?
By using SMC, you can check and download all logs, snapshots and movies that are captured by Raspberry Pi. This data is stored in the cloud system that is specifically developed for the SCORER system.
2.Create an account and register device for accessing SMC
In order to connect Raspberry Pi to the SCORER cloud system and SMC, you need create an SMC account and register your Raspberry Pi. You need the SCORER Starter app to do this process. Currently, the SCORER Starter app is only available in iOS(version 9.1 or higher). Android version will be released soon.
- Turn on your Raspberry Pi
- Open the App Store on your iPhone/iPad. Also make sure that your Raspberry Pi and iPhone/iPad are on same local network
- If you are iPhone users, tap ‘search’, type “scorer starter” in search bar, and then tap ‘search’
- If you are iPad users, tap left top part of screen says ’iPad Only’ then switch it to ’iPhone Only’. Type “scorer starter” in search bar on top right of your screen, then tap ’search’

- When you find the SCORER Starter app, tap ’GET’ to download this app

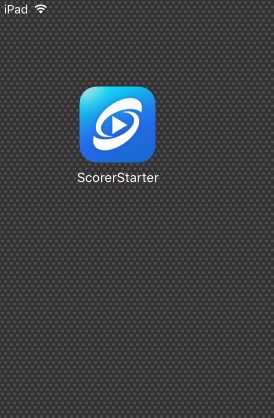
- Once downloaded, launch Scorer Starter by tapping the Scorer Start app icon

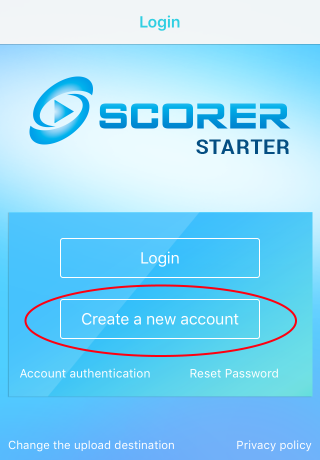
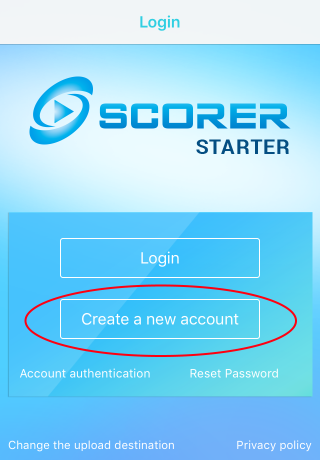
- Tap ’Create a new account’
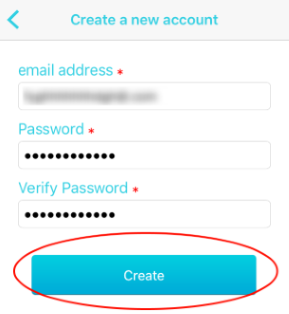
- Input email address(one you will use for the registration), Password and Verify Password. The password must have a minimum length of eight characters
- Tap ‘Create’
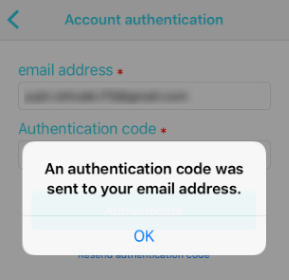
- When an account has been created, a message “An authentication code was sent to your email address.” will show on the screen
- Check your email and you should have received a mail with title ”Scorer Starter verification code”. The message will look like below. Open the mail and copy the verification code
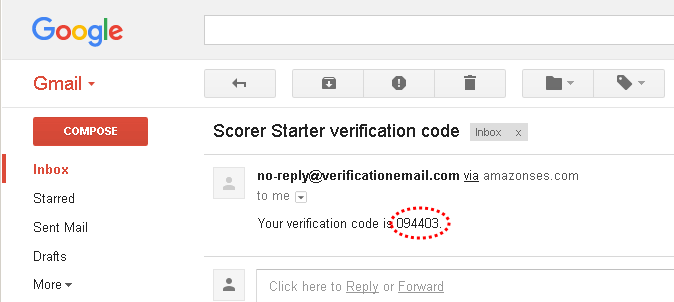
- Go back to your iPhone/iPad, tap ‘OK’ and you will be automatically redirected to the “Account authentication” screen. The email address field should be filled automatically. Just type in or copy and paste the verification code into the text field just below the “Authentication code” then tap ‘Authenticate’

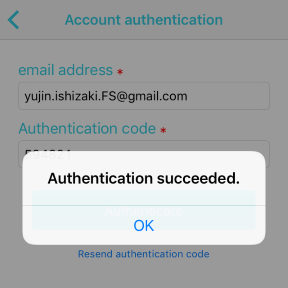
- Tap ‘OK’button and you will be redirected to the main screen
- Tap ‘Login’
- At the “Login” screen, enter email address and password to text fields and then tap ‘Login’
- If successful, you will move to the “Device List” screen

- If your device’s Bluetooth is not ON, you will get warning as shown below. Tap ‘Settings‘ to move to your device’s Bluetooth setting screen

- Turn Bluetooth on
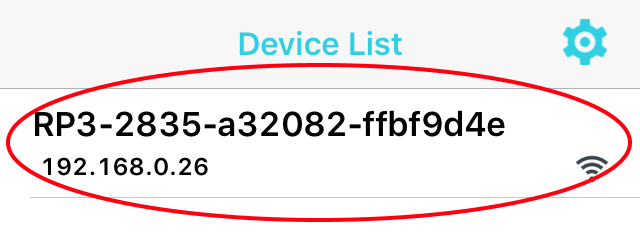
- Tap device name “RP3-xxxx” and it will turn to “connected”

- Go back to the Scorer Starter app
- You should see ‘RP3-XXXX’on the list. If the list remains blank, swipe the list vertically down to refresh
- Tap the device name “RP3-XXXX”, that will redirect you to the “Menu” screen
- At the “Menu” screen, tap the ‘Device registration’. This process takes a few minutes

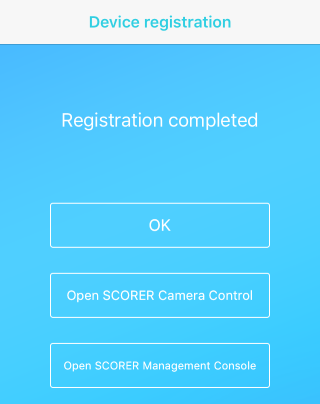
- When registration is done, screen like below will be shown
- Your user authentication and device registration process is done
- Close the Scorer Start app
3.Access SCORER Management Console
You can access SMC from any device with a web browser.
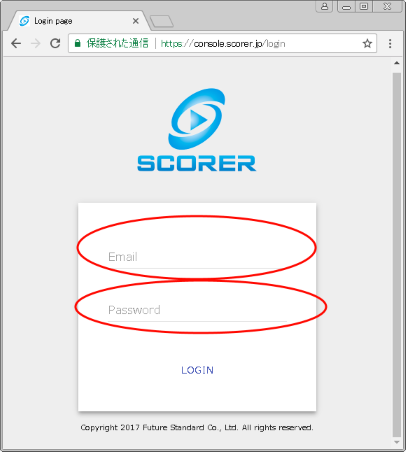
- In web browser, type ”https://console.scorer.jp/“ in the address bar and hit enter key
- At the SCM Login screen, enter your Email address and Password which you have registered at Scorer Starter and click ‘Login’
- Make sure that your Raspberry Pi is running
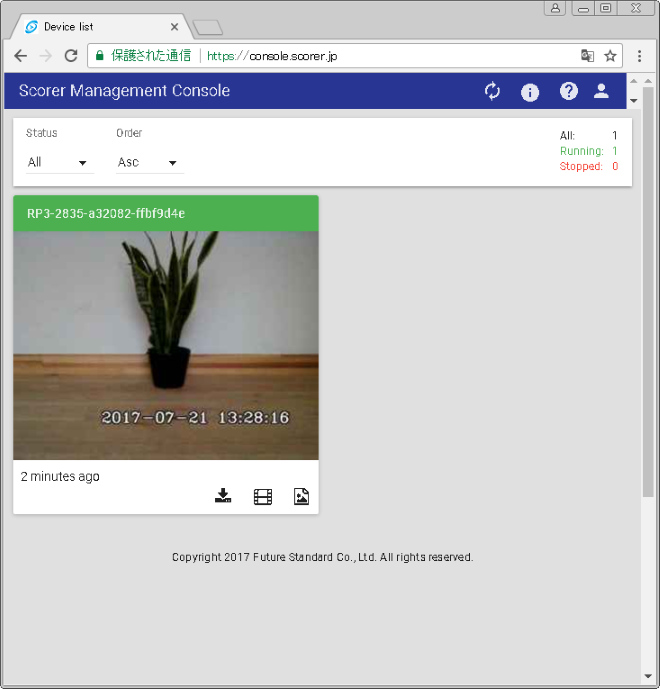
- At the SMC main screen, you will see a thumbnail. If you have multiple cameras authenticated you will see multiple thumbnails
- If the background color of camera name is green, it means the camera is turned on. If camera is turned off, the color will turn to red
- At left upper side of your SMC screen, with status drop down list, you can choose which cameras to show up on the SMC by status(camera on/off). You can also sort thumbnails in ascending/descending order(camera name)
- At right upper side of your SMC screen, the icons refer to (from left): refresh, read SCORER User Guide, question form, and logout
Clicking a thumbnail
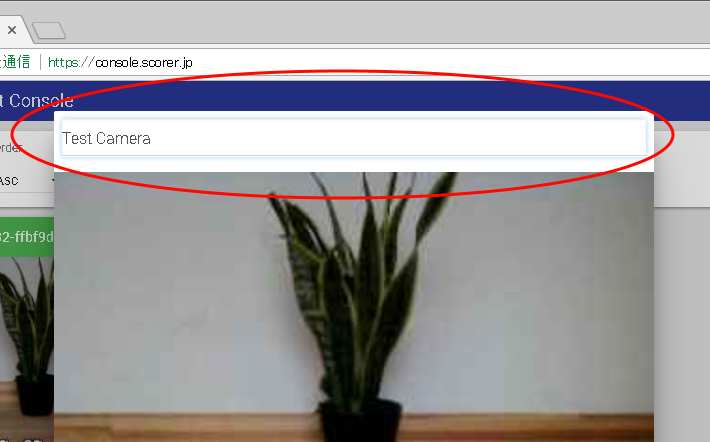
When you click a thumbnail, you can change camera name and check how much disk space left in the SCORER cloud system.
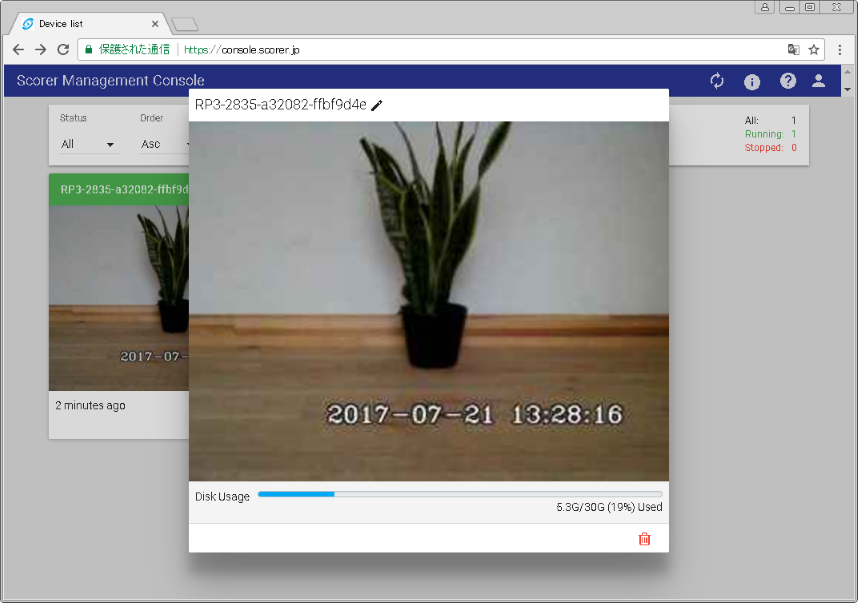
- You can rename your camera by clicking camera name(where pencil icon is located), and type in name of your choice
4.Examples of log/movie/snapshot result from each detection method
Logs/movies/snapshots are automatically saved to SCORER cloud system as long as you choose any detection method and turn on recordings at the SCC. Trigger of start recording depends on which detection method you have selected at SCC. Note, data will only be kept for a week.
Before getting into examples, let us explain how to obtain logs/movies/snapshots.
Log
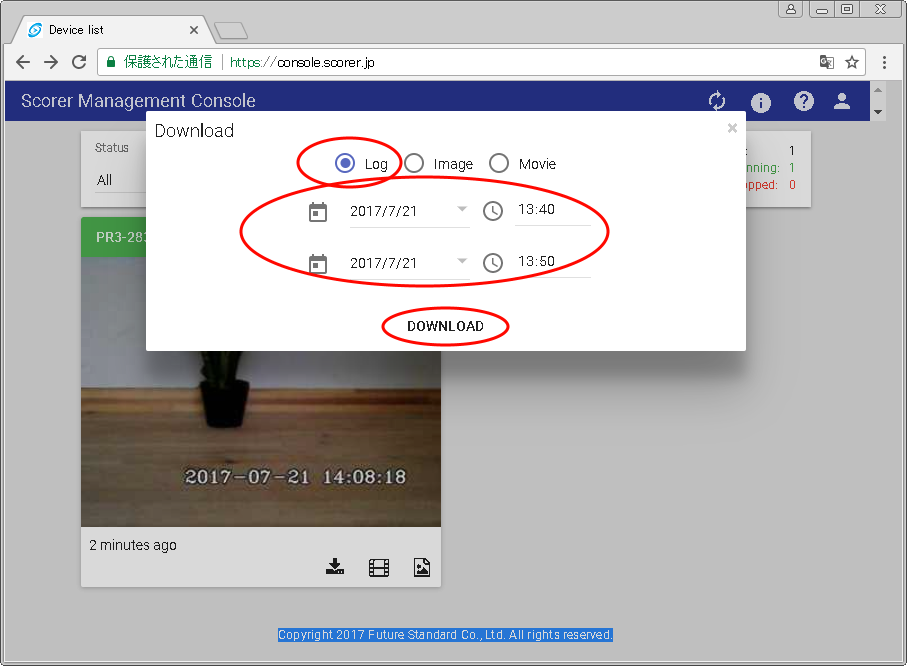
- Click
 icon below the thumbnail. The “Download” screen should pop up
 - Keep the Log radio button active
- Select the duration to download the logs for. First date and time is the “to start” and second date and time is the “end” of the duration
- Click ‘DOWNLOAD’ to start downloading a zip file contains log file(s)
Movie
- Like downloading logs explained in above, you can download saved movies of specific duration. To do so click
 icon, choose ’Movie’, specify duration, and then click ‘Download’
 - You can also click
 icon below the thumbnail. You will be redirected to the “[Camera Name]>Movies” screen
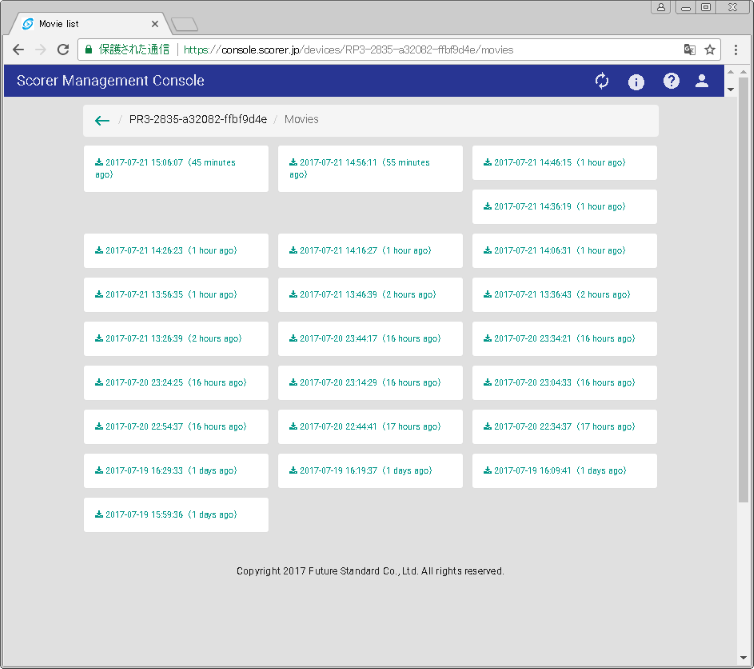
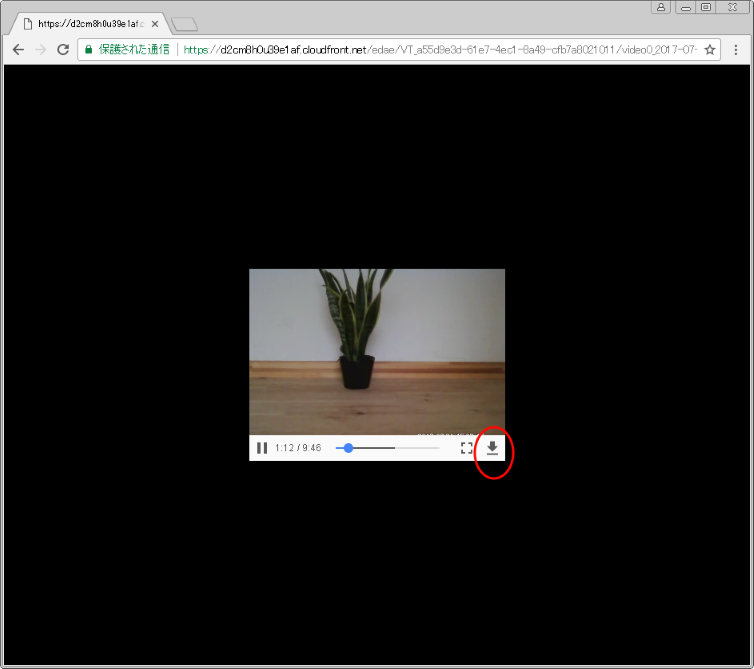
- You can play a movie by clicking any square icon with date and time. You can click right bottom icon(an arrow pointing down) to download this movie
Snapshot
- Like downloading logs and movies explained in above, you can download snapshots of specific duration. To do so click
 icon, chose ’snapshots’, specify duration, and then click ‘Download’
 - You can also click
 icon below the thumbnail. You will be redirected to the “[Camera Name]>Snapshots” screen
 - Click each thumbnail to see bigger image. To download the image, right click the image and choose ’Save Picture As...’ and save it to a location of your choice

Facial Detection
We show this sample movie(https://vimeo.com/23593380) to the camera. Please keep an eye on ”2017-07-21 18:59:37” in the log, snapshot, and movie shown below.
- In the log file you can see that the face has been detected and its details are logged
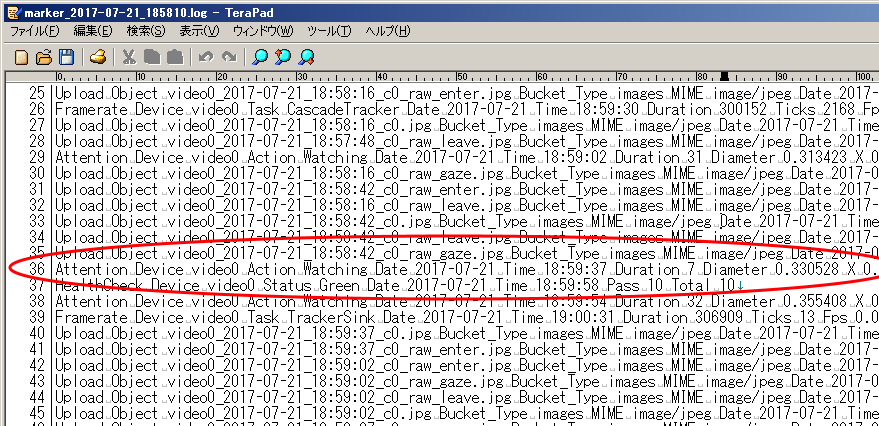
- In the picture thumbnail, you will see green and blue circles around edge of face that tells that the Raspberry Pi has identified a face

- Please refer the actual movie(below URL) that are downloaded from SMC
https://drive.google.com/open?id=0B_5qYXFvRKQ0cWh1dF9SaGJkOXM
【SMC Facial Movie Sample.mp4】
Motion Tracking
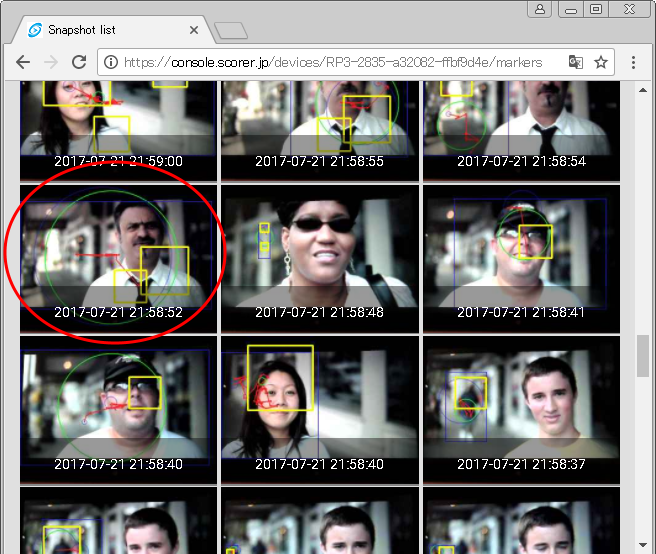
We show this sample movie (https://vimeo.com/1737450) to the camera. Please focus on ”2017-07-21 21:58:52” in the log and snapshot shown below.
- From the logs, you can tell that a motion has been tracked at “Date 2017-07-21 Time 21:58:52” and motion data is logged

- In this picture, you can tell a person's head and shoulder have been detected and shown in circle and squares
Car Tracking
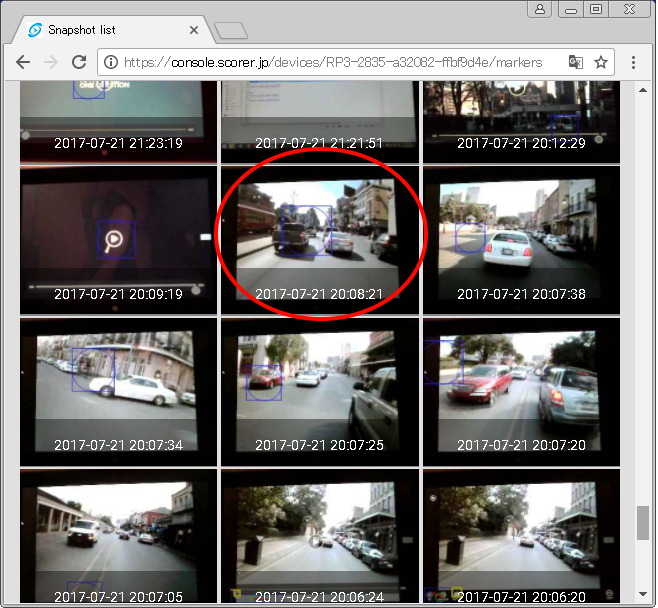
We show this sample movie (https://vimeo.com/5136068) to the camera. Please focus on ”2017-07-21 20:08:21” in the log and snapshot shown below.
- From the log, you can tell that the car detection has been activated at “Date 2017-07-21 Time 20:08:21”

- In this picture sample you can see square and circle are drawn in the back of a car. That tells that the Raspberry Pi’s car detection works perfectly
QR Tracking
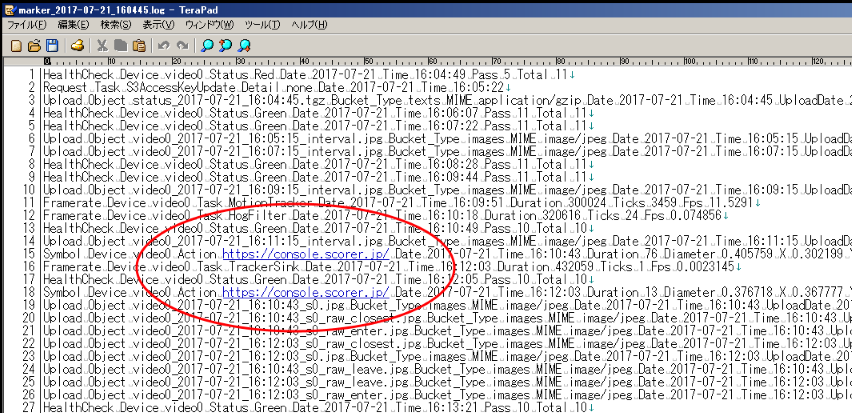
We use below QR code as a sample for demonstration. This QR code has embedded a URL(https://console.scorer.jp).
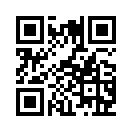
- In a log you see a line with URL at Date “2017-07-21 Time 16:10:43”. The Raspberry Pi successfully read the sample QR code and output the correct URL
- You see drawn square and circles around edge of the QR code. This tells that the Raspberry Pi has identified a QR code

This is the end of SCORER Starter Kit Setup Guide. Thank you very very much for taking time to read through our articles.