This is the official SCORER blog which will provide you with setup guide, sample use cases, and detailed customization.
In this section of blog, we are presenting a setup guide for “SCORER Camera Board Starter Kit” through 4 different chapters. The list of chapters are below:
- Chapter 1 - Assembling SCORER starter kit and installing SCORER SDK to an SD card
- Chapter 2 - Establishing a WiFi connection for the Raspberry Pi
- Chapter 3 - Testing different settings and functions on Raspberry Pi WEB Cam
- Chapter 4 - Registering on Scorer Management Console(SMC) and download movies/snapshots/logs from SMC
The SD card included in the starter kit already contains SCORER SDK, but for demonstration purpose, we have included installation procedure in this setup guide. If you are comfortable with SCORER SDK pre-installed SD card, you can skip the "SCORER SDK to an SD card" part(2-4 clause of this chapter) and directly proceed to chapter 2.
In this chapter, we will guide you through assembling starter kit, turning on Raspberry Pi, then installing SCORER SDK to an SD card.
1.Assembling SCORER Camera Board Starter Kit
Assembling starter kit is pretty straight forward.
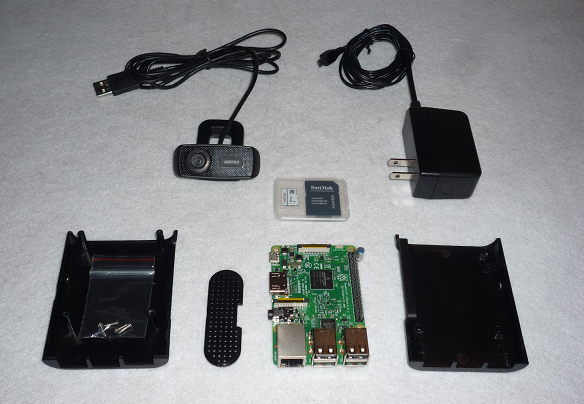
This is a list of items that we use in this setup guide. They are what you will find in the starter kit with one exception, we use blank SD card for demonstration purpose.
- Raspberry Pi 3(RTC Module, Soldered Power Condenser)x 1
- 60 Degree USB Camera (Buffalo BSWHD06M series)x 1
- 32GB Blank SD Card x 1
- MICRO-B USB Power Adapter x 1
- Raspberry Pi 3 case x 1
Place Rasberry Pi3 into the plastic case(one with 4 screw holes in bottom). Make sure the Raspberry Pi board is facing right direction while you place it into the plastic case.
Check all ports(USB, HDMI, Audio), SD card slots, and screw holes are lined up correctly.
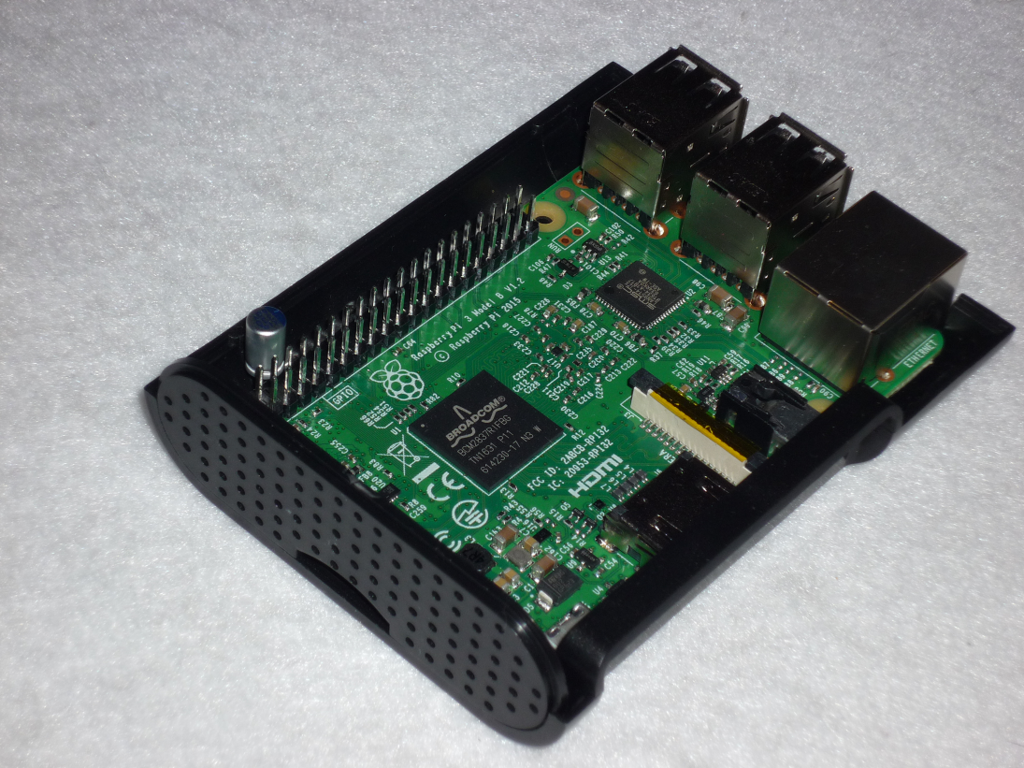
Place reticulate oval plastic cover to the side with SD slot and LED lights.
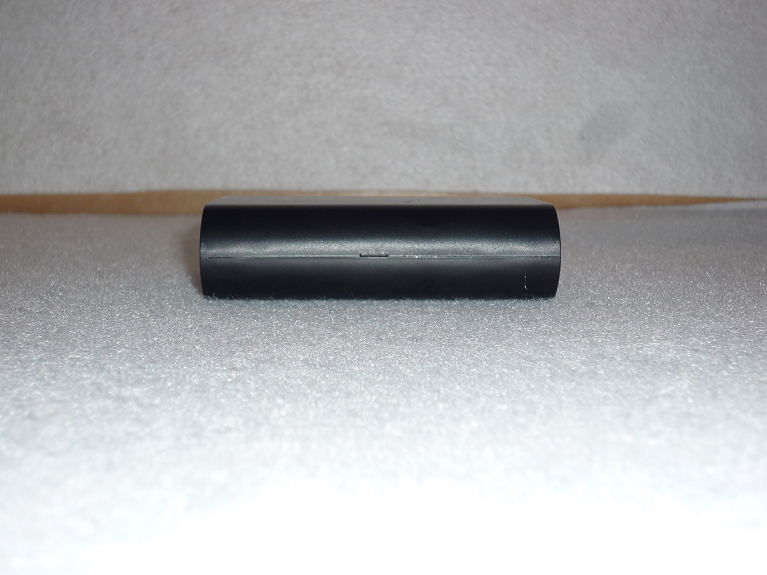
Attach other plastic cover(one without screw holes).
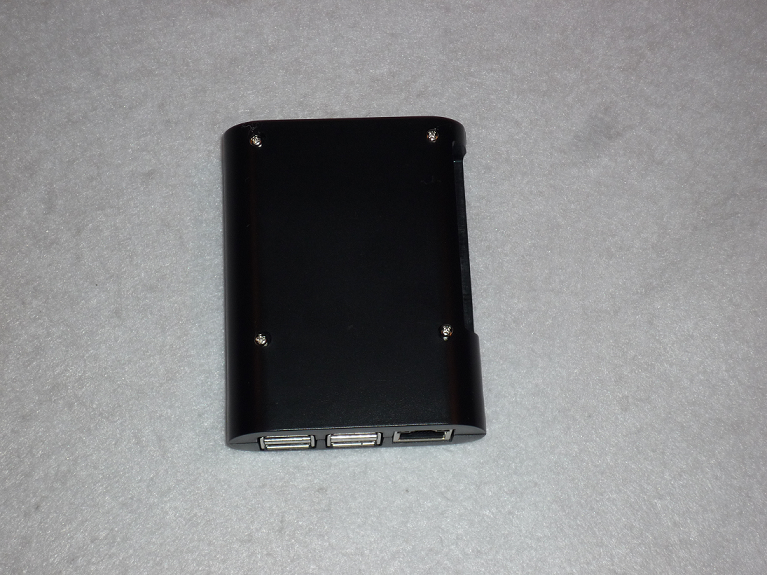
Tighten 4 screws.

Upon completion, your kit should look like pictures above.
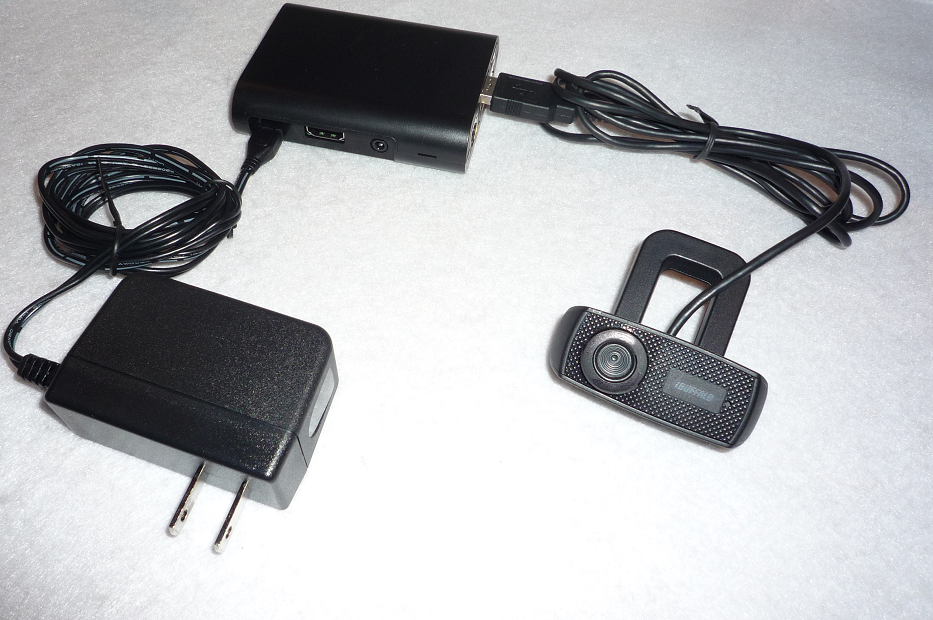
Connect the power cable and camera to USB slots.
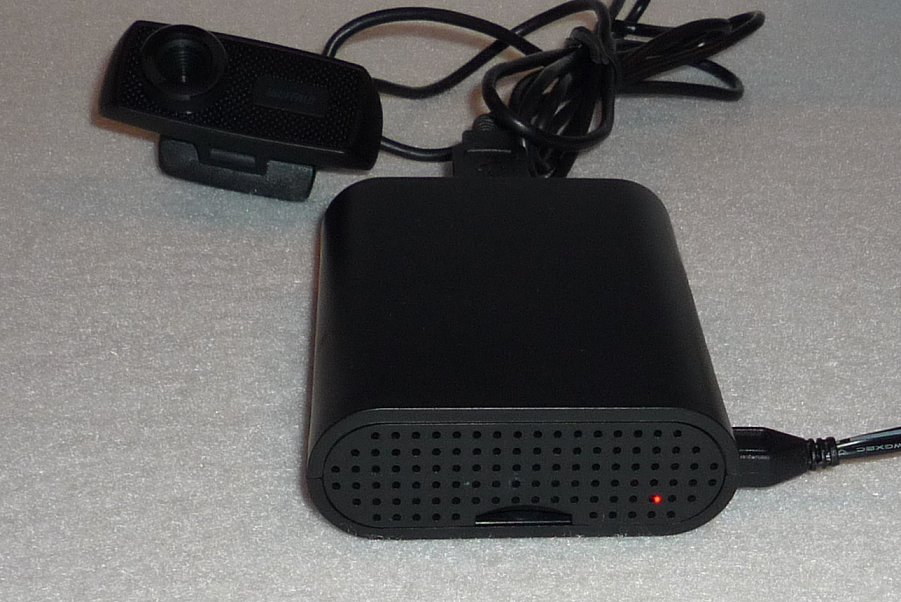
Turn on the power. The red status LED will light up when the Raspberry Pi is on.
2.Installing SCORER SDK to an SD Card
You can always download latest SCORER SDK image files from our site. If you want to reconfigure SCORER from vanilla state, please read through below to install SCORER SDK.
Access to http://downloads.scorer.jp/sdk.html and download SCORER SDK image file by clicking “Raspberry Pi 3” button.
!!CAUTION!!
SCORER SDK image file is approximately 3GB in size. It may take some time to download based on your internet speed.
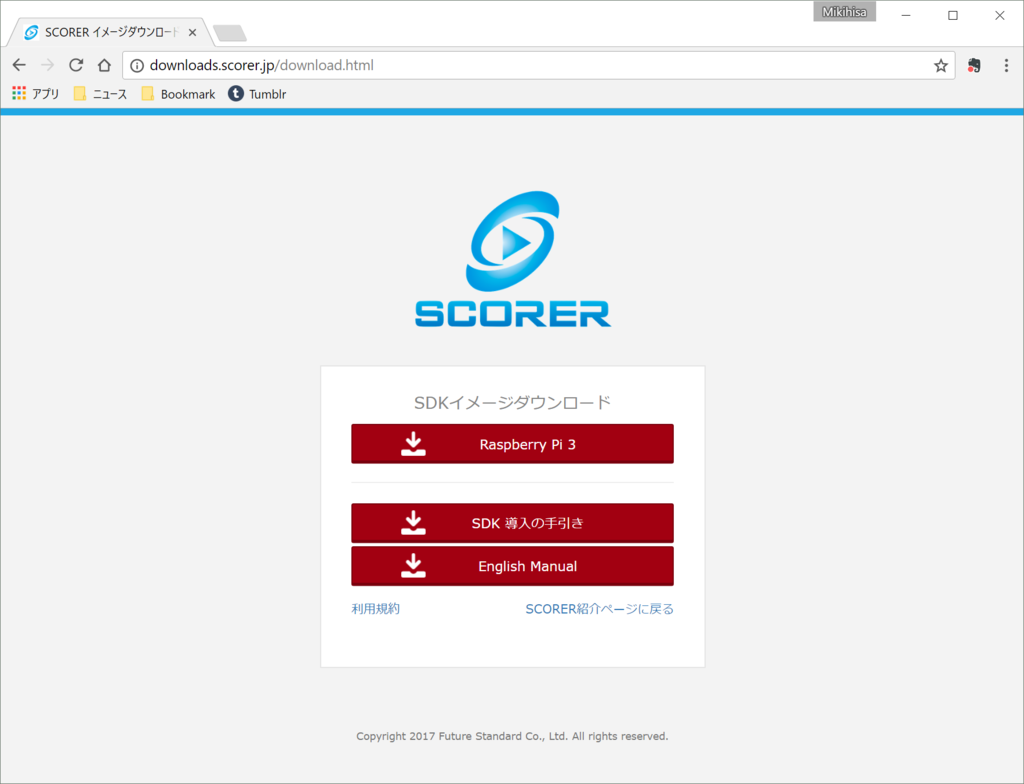
Decompress the file you have just downloaded. Downloaded file’s name will be: scorer-sdk-for-rp3_YYYY-MM-DD.zip (YYYY-MM-DD will correspond to the date of download).
3.Formatting an SD Card
Before proceeding to the installation process, the SD card(one you are intended to install SCORER SDK to) should be formatted. We recommend ‘SD Card Formatter‘ to do this job.
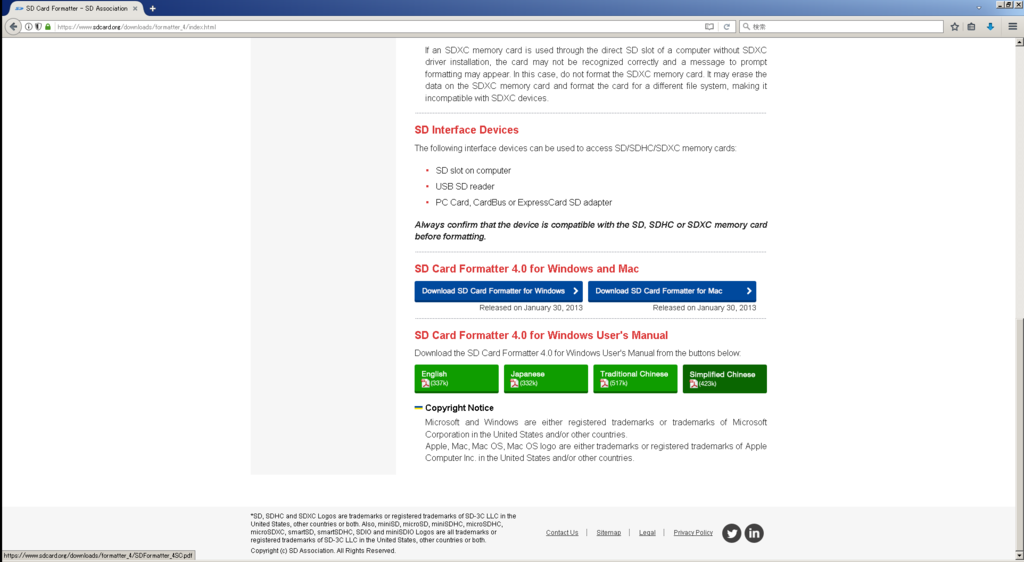
Download ‘SD Card Formatter‘ from https://www.sdcard.org/downloads/formatter_4/index.html, then install it to your computer. Insert the SD card into your computer's card reader.

Once the SD card has recognized on your computer, click “Option” and make sure the FORMAT TYPE is “QUICK”. Click “OK” to close the Option Setting window.
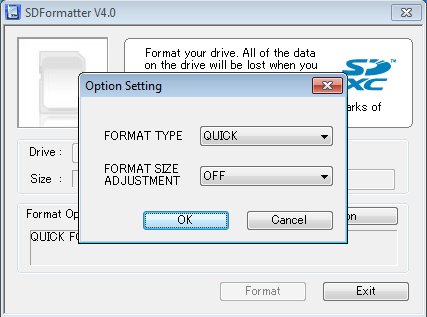
Click “Format” at main window. It will give you warning twice but just click “OK”. Upon completing the format, window with “Memory Card Format complete!” message will be shown on the screen. Click “OK” to close the window, then click “EXIT” at main window to close the application.
4.Installing SCORER SDK into an SD Card
We recommend to use ‘Etcher‘ for installing SCORER SDK into the formatted SD Card.
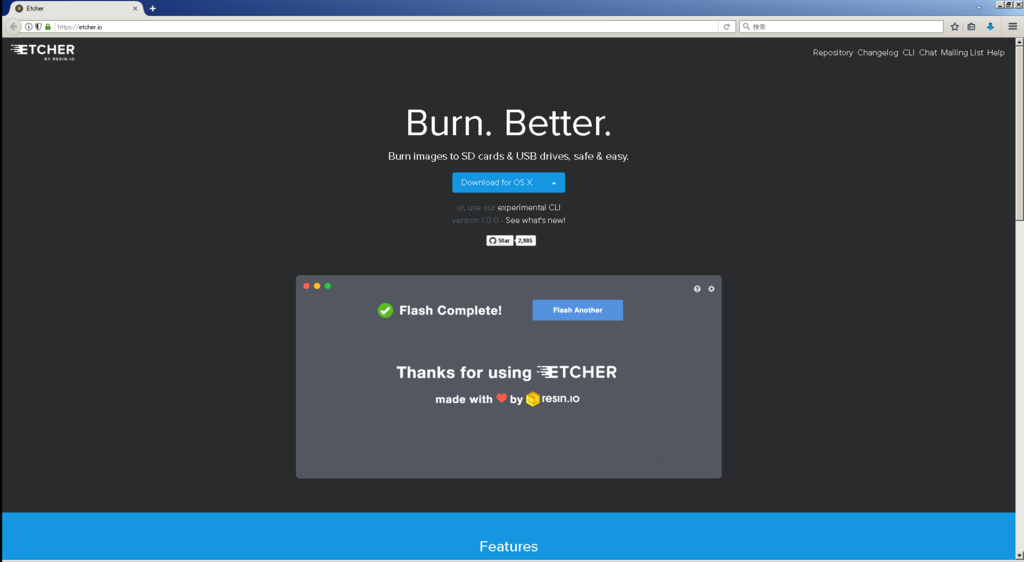
Download ‘Etcher’ from https://etcher.io/, then install it to your computer.
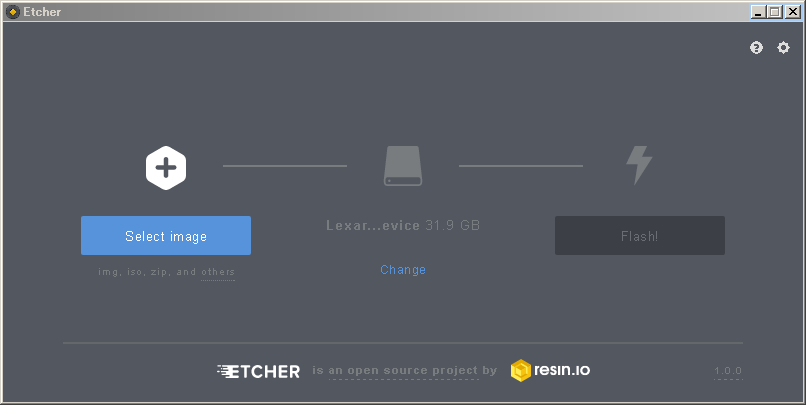
Start the Etcher and you will see a screen just like the one above. Make sure your SD card is shown on the midsection of window. Click “Select image”, then navigate through file system and chose the SCORER SDK image file(scorer-sdk-for-rp3_YYYY-MM-DD.img).
!!CAUTION!!
Make sure the directory name does not contain 2 byte letters(e.g. Chinese characters). You could get an error message just like picture below.
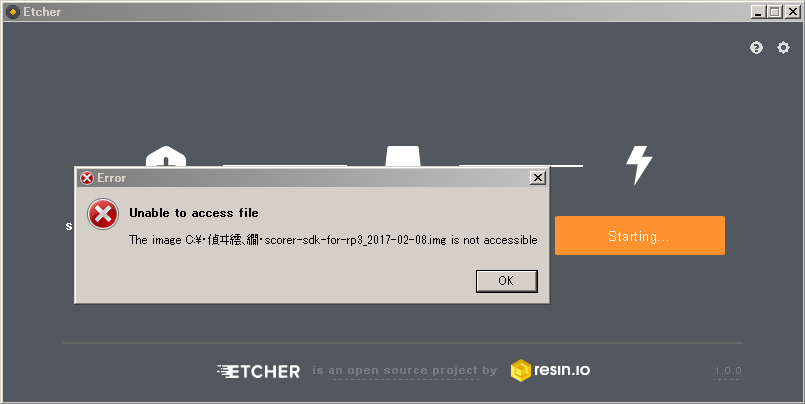
When you are ready, click “Flash!” button. It will start installing image files to the SD card. Since image file has large volume, it takes few minutes to get processed.
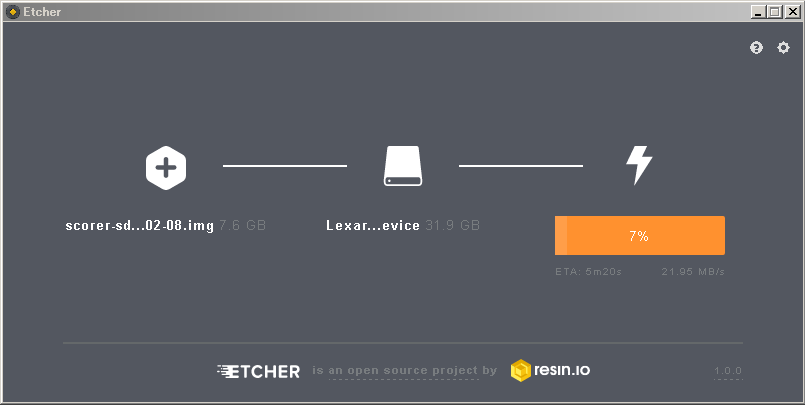
When you see “Flash Complete!”, click “X” on right upper corner to close application.
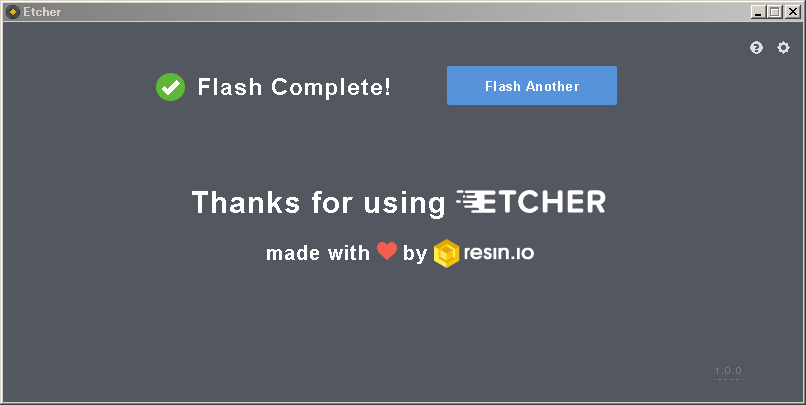
Congratulations! All the installation process has just completed.
In the next chapter, we will continue our configuration process by adding WiFi information into configuration files and establish a WiFi connection for the Raspberry Pi.